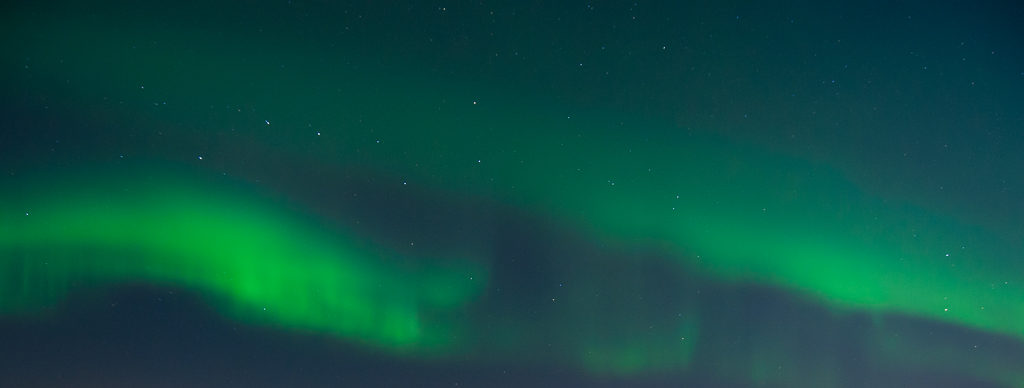
Touring the northern hemisphere in hopes of viewing the northern lights on a dark night has become a travel trend and a bucket list item for many and rightly so. They’re beautiful to see and there isn’t anything that can match watching the light show dance across the sky.
Recently I took a trip to Finland and I was so excited because I knew that along with dog sledding, reindeer watching, and meeting Santa Claus there was a good chance that I would be able to see the northern lights. I knew that I needed to learn how to shoot the northern lights because I wasn’t going to leave without some awesome northern light photographs.
After searching the web for how to take photos of the northern lights I had some good ideas of what to try to get the best shots but I was still a bit unprepared. With a little bit more research, some practice runs, and finally some time shooting I came away from Finland with some shots that I really like. I also have a bunch of tips to share with you so you can get some great photos of the northern lights next time you’re up north.
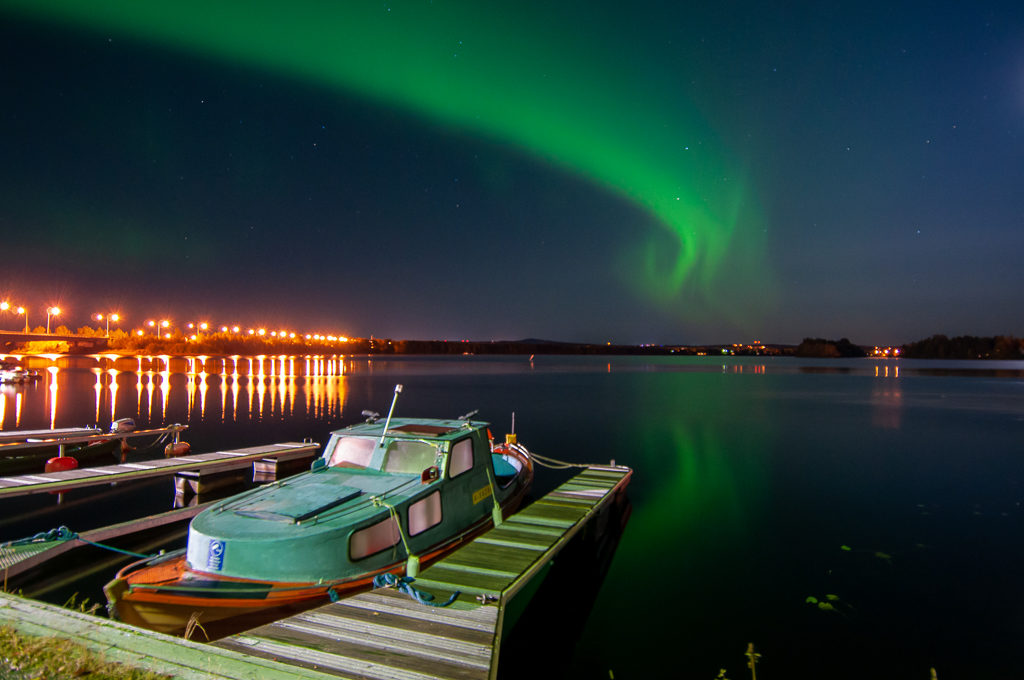
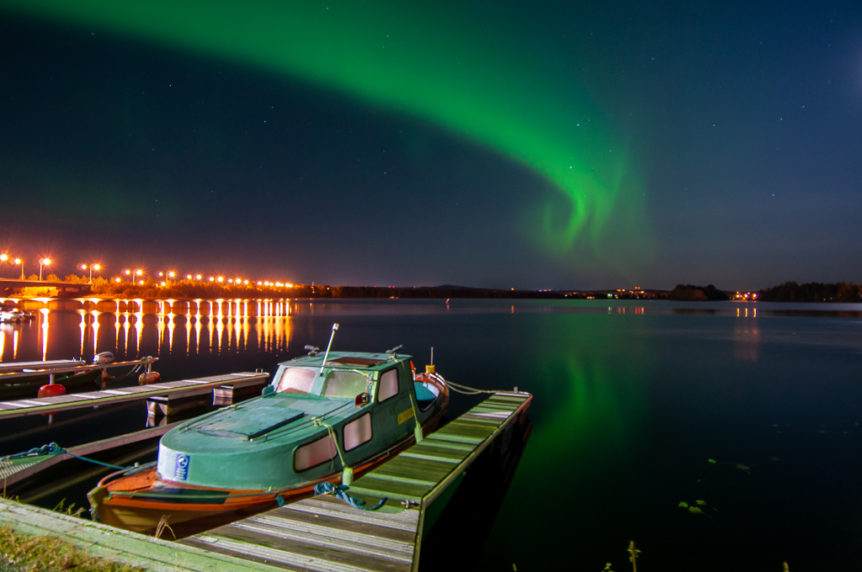
All of the photos featured in this post were taken by myself in late September in Finland. This was my first time shooting the northern lights in my life and it was addicting. I can’t wait to get back north to do it again.
Table of contents
- What are the Northern Lights?
- Are Northern Lights Harmful?
- What Colors are the Northern Lights?
- Are There Southern Lights?
- Where Can I See the Northern Lights?
- When Can I See the Northern Lights?
- How Can I Tell When the Northern Lights Will be Visible?
- What Camera Settings Should I Use to Photograph the Northern Lights?
- What Equipment Do I Need to Photograph the Northern Lights?
- Can You Take Pictures of the Northern Lights with an iPhone?
- Beginner’s Guide to Shooting the Northern Lights
- More Practical Tips for Shooting Northern Lights
- What Else Should I Pack for Shooting Northern Lights?
Related Posts
Goonies Film Locations You Can See Today
Family-Friendly Things to do in Helsinki
What are the Northern Lights?
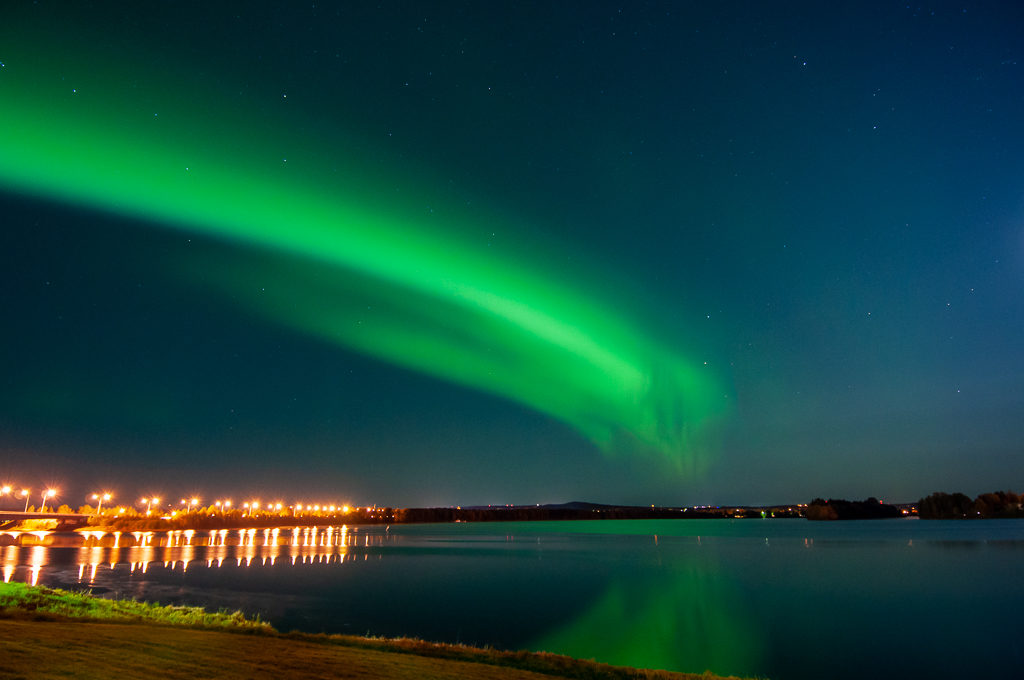
The northern lights, scientifically called Aurora Borealis, are particles of solar wind that come from the sun and hit the Earth’s atmosphere. These particles are pulled towards the Earth’s magnetic poles and react with the atmosphere to create light.
Fun fact: Solar wind takes 2-3 days to reach Earth from The Sun.
Are Northern Lights Harmful?
Nope. Although they can be harmful to astronauts and space equipment if you’re on the earth you’re protected by the atmosphere. High amounts of solar wind activity can momentarily affect radio communication though.
What Colors are the Northern Lights?
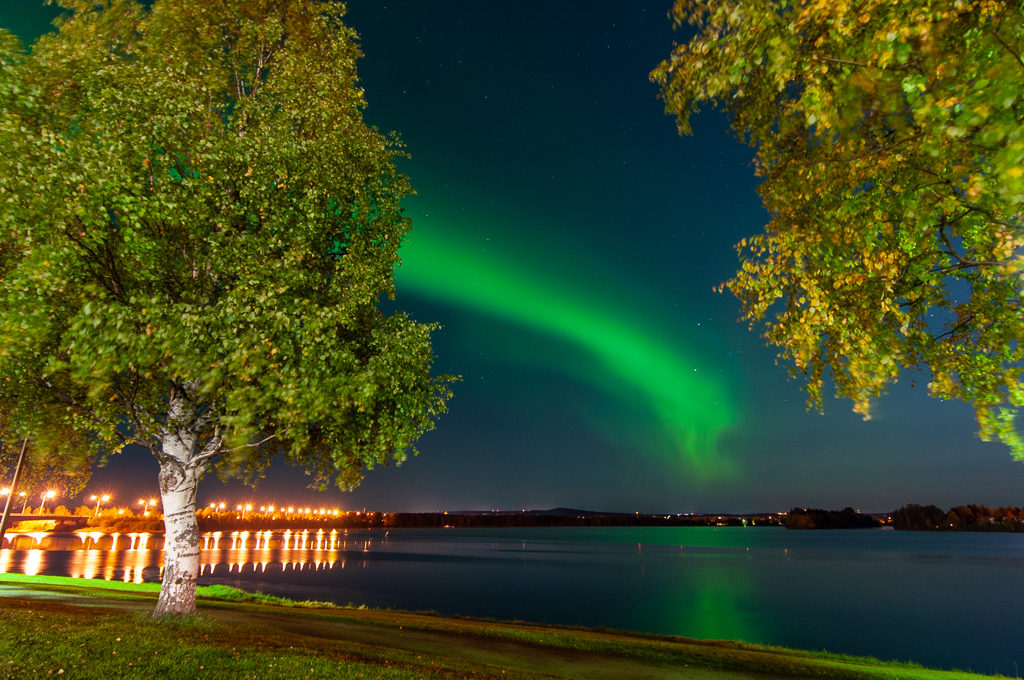
The northern lights are most often shades of green, but they can vary depending on which gasses they collide within the atmosphere. They can also be yellow, red, violet, and blue.
Are There Southern Lights?
Yes, there are southern lights too. They are called “Aurora Australis” and can be found in the Southern Hemisphere. I’ve never experienced them, but the tips in this post will help you take photos of them as well.
Where Can I See the Northern Lights?
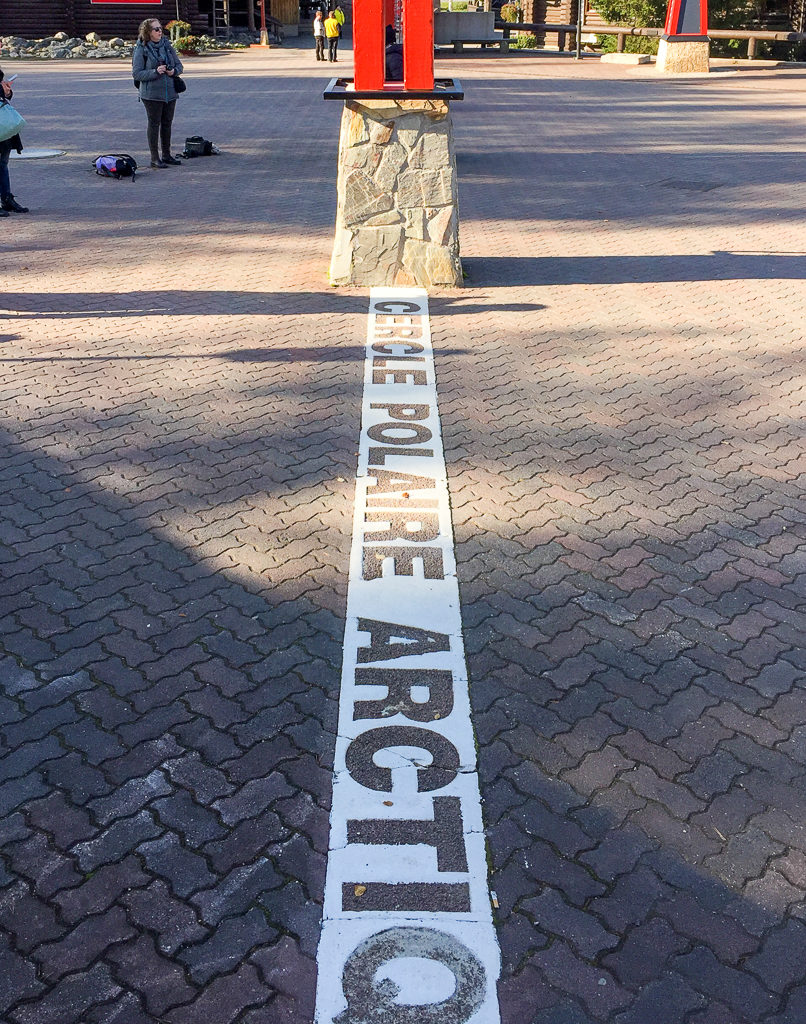
Latitudes from 65 degrees to 72 degrees are considered the perfect area to see the northern lights. Places near or on the Arctic Circle like Northern Norway, the Lofoten Islands in Norway, Sweeden, Finland, the Northwest Territories in Canada, and Alaska are popular places to view the northern lights. Iceland has become another destination with success seeing the northern lights, but oftentimes the results will be better further north. Basically, the closer you get to the north pole, the better
Being in areas of low light pollution will increase your odds of seeing the lights. National parks can be great places to capture the northern lights because they usually don’t have a lot of lights. Dark skies are the best for viewing northern lights but often they’re bright enough to be seen even in areas with some light sources.
When Can I See the Northern Lights?
There is never a guarantee that you’ll see the northern lights, but there is are aurora seasons. The best times of year to view them are in the winter months, from late September to March. Winter in the north means more hours of dark and often clearer atmospheric conditions.
During the summer in the far north many places will midnight sun, and there really isn’t much night at all.
Obviously, the hours of darkness are the best time of day, but there is no particular hour or time of night that is better. You’ll have to watch the weather and try to follow the northern light forecast. Nights with a new moon will also reduce the light and make the northern lights more visible.
How Can I Tell When the Northern Lights Will be Visible?
You can’t ever know aurora activity for sure, but there are tools to help predict the visibility of the northern lights.
Get a Northern Lights App
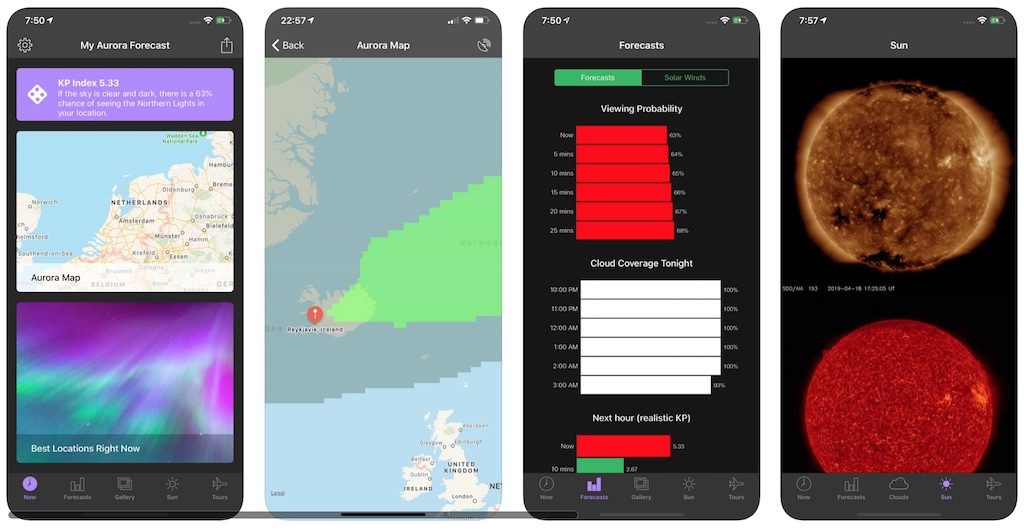
My Aurora Forecast & Alerts is an app that is very helpful to help predict when you’ll be able to see the northern lights. Currently, it is a free download for iPhone and Android. I used it when I was in Finland and found it very accurate and helpful.
Northern Lights Tracking Sites
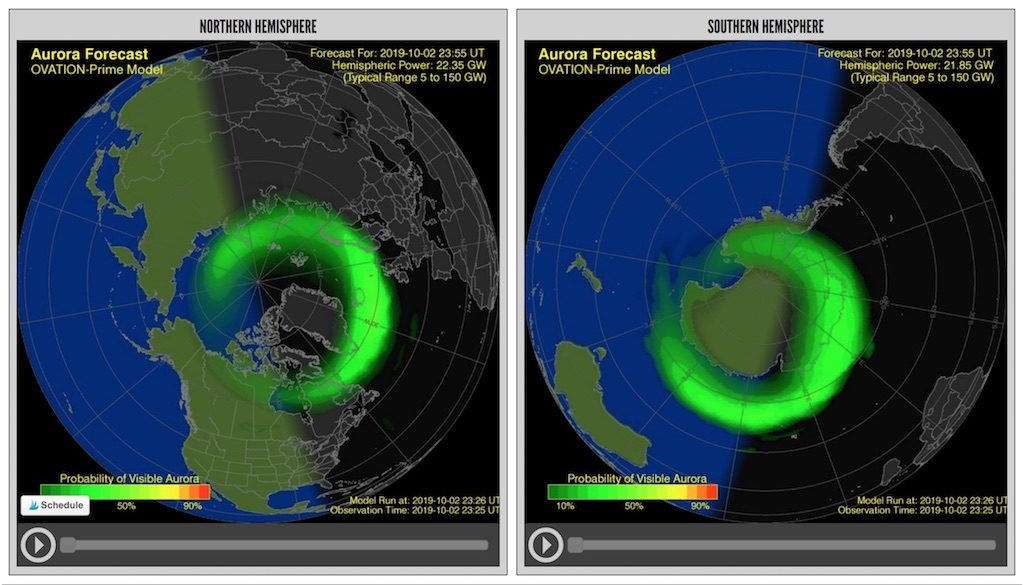
A few other sites helped me track with accuracy when I would be able to see the northern lights. They are Service Aurora and the Space Weather Prediction Center and they show the aurora oval (the round shape of aurora activity, to help track the auroras. Check out their pages to see the current northern lights forecast.
Even if there is an active northern light prediction, it could be affected by cloud cover, snowstorms, or light pollution, all of which might prevent you from seeing the lights.
Fun Fact: The northern lights have been seen in America as far south as Texas.
What Camera Settings Should I Use to Photograph the Northern Lights?
Generally, these settings will give you good results. For more detailed instructions continue on to our beginner’s guide.
- Shooting Mode – Manual
- Aperture – 2.8 or the lowest your lens will go
- Shutter Speed – 5-15 seconds
- ISO – 800-1600
- White Balance – Auto
What Equipment Do I Need to Photograph the Northern Lights?
Northern lights photography requires some specific equipment to make the best photos. These are the things we recommend.
- Tripod – This is essential to getting nice northern lights shots. You’re going to be shooting for seconds at a time. Any movement during the shot will result in a blurry shot. Make sure that you have
- Camera – Shooting with a DSLR camera will give you the most control of your manual settings and lens choice, some great choices are the Nikon D and the Canon. There are many mirrorless cameras such as the Sony A7III that have interchangeable lenses. Most point and shoot digital cameras have manual modes as well.
- Wide Lens – I took these shots with a Nikon 12-24 Wide angle lens. The wider the lens the more sky you will show, but you can use any lens creatively to get good shots.
- Extra Batteries – I always have a few extra batteries with me just in case. Remember in cold weather they will drain more quickly than usual.
- Large Memory Cards – There is nothing worse than running out of space on your memory card while shooting something amazing. Make sure you have large cards and have enough room.
- Cable Release or Remote – Even the force to push the shutter down is enough to make a photo blurry and ruin your shot. This small investment will go a long way to making sure you have clear shots.
Can You Take Pictures of the Northern Lights with an iPhone?
Yes, you can. You need to download an app that will give you manual control of your settings and then use the steps I outline in the beginner’s guide just the same. Make sure you have a tripod or a steady spot to place your phone. Handheld photos will not turn out the way you want.
Beginner’s Guide to Shooting the Northern Lights
All cameras are a little bit different and the menus and individual options will vary. If your camera is able to, try shooting in raw. This will give you the most control of your image for post-production. Get familiar with your camera and these settings before you’re heading out to shoot. Night photography can be tricky and being super familiar with these settings and steps will be a big help when you shoot at night.
These 10 steps are a great beginner’s guide and will tell you how to photograph the northern lights.
- Set up your tripod – this is the most essential. Without a tripod, it will be nearly impossible to get a nice focused shot.
- Turn your camera to manual shooting mode – usually the M mode on your camera’s dial.
- Use the widest angle you can. Generally the wider you can get your lens to go the more sky you will see.
- Set your aperture or f-stop to between f/2.8 and f/5.6 – the lower the number the better in most cases.
- Turn off autofocus and set a focus on an object that is far away or set the lens to infinity focus.
- Set your ISO – shoot with an ISO between 800-1600 – This can change depending on the conditions and your camera.
- Set the shutter speed – You want your exposure time to between 5-15 seconds. Anything longer and you will likely see star movement.
- Use a timer, release cord, or remote – manually pressing the shutter button can shake your camera just enough to make your shot blurry.
- Shoot photos – take a lot of them!
- Adjust settings if necessary and repeat.
More Practical Tips for Shooting Northern Lights
- Scout ahead and know when your chances of seeing lights are.
- If you’re indoors waiting for the right moment have your gear ready to go. Auroras can be unpredictable and sometimes short-lived. Be ready to get out the door.
- Dress warmly. You’re not going to be moving a whole lot while taking photos and you’ll likely get cold quickly if you’re not prepared.
- Bring extra batteries if you have them. The cold tends to drain battery life quickly.
- Scout your shooting location ahead of time. Know where want to go to get the best shots. Finding a nice dark location with a dark sky will be best. Try to get away from light pollution for the best results.
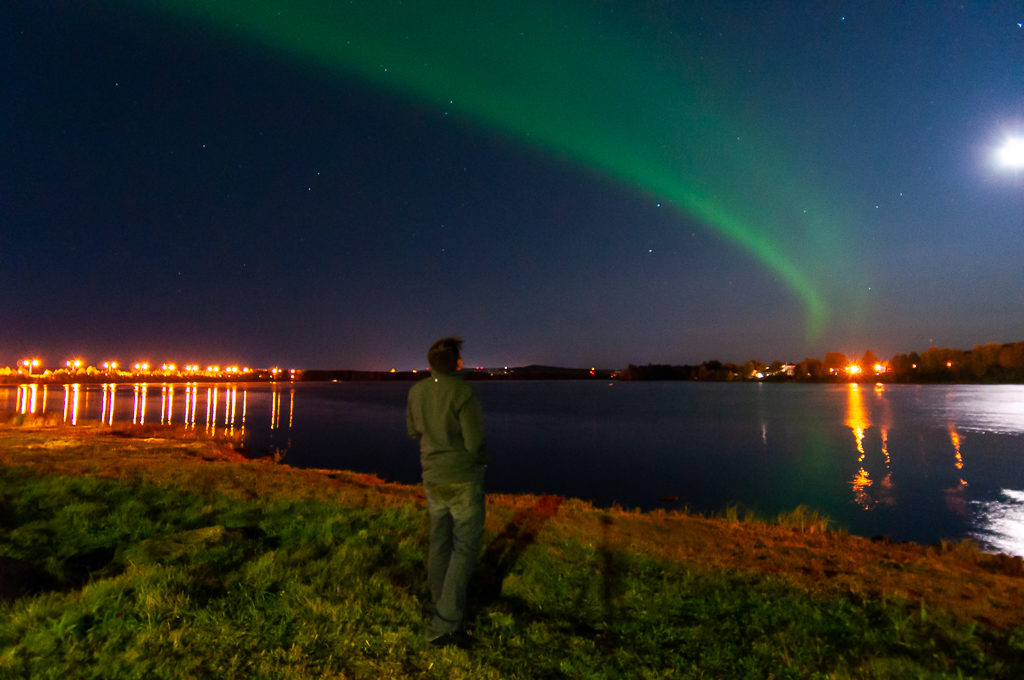
- If you want to take photos of yourself under the northern lights make sure you set your timer for long enough for you to get into position or have someone else take the photo for you. You’re going to have to stand very still.
- Try including something in your foreground to make the shot more interesting, think sheds, trees, boats, rocks, etc.
What Else Should I Pack for Shooting Northern Lights?
- Warm clothes – layers and warm shoes or boots
- Headlamp or flashlight – this will come handy when adjusting camera settings.
- Warm thermos – depending on how long you think you may shoot you may need fuel.
- Camp chair and blanket – if you’re going to be out for a while this will make things more comfortable.
- Heat Packs – these little guys can be lifesavers in the cold.
This is it, all of my knowledge about shooting the northern lights. I hope you have success and come away with some breathtaking photos of the northern lights! Good luck!
Pin This

Comments 6
Pingback: 15 Things To Do In Finland With Kids - Pura Vida Moms
Pingback: Helsinki- Don't Miss These Family Activities - Pura Vida Moms
Pingback: Santa's Office and Northern Lights: Visit Rovaniemi - Pura Vida Moms
Pingback: Flying Finnair Business Class to Helsinki - R We There Yet Mom?
Pingback: Instagrammable Places to Visit in Finland | Best Pictures in Finland | MomJunky.com
Pingback: Best Things to do in Rovaniemi Finland | Dotting the Map